FREE SHIPPING on orders over $99.97 | $8.99 for FedEx 2 Day Air
Mini Hydraulic Knife Forging Press
|
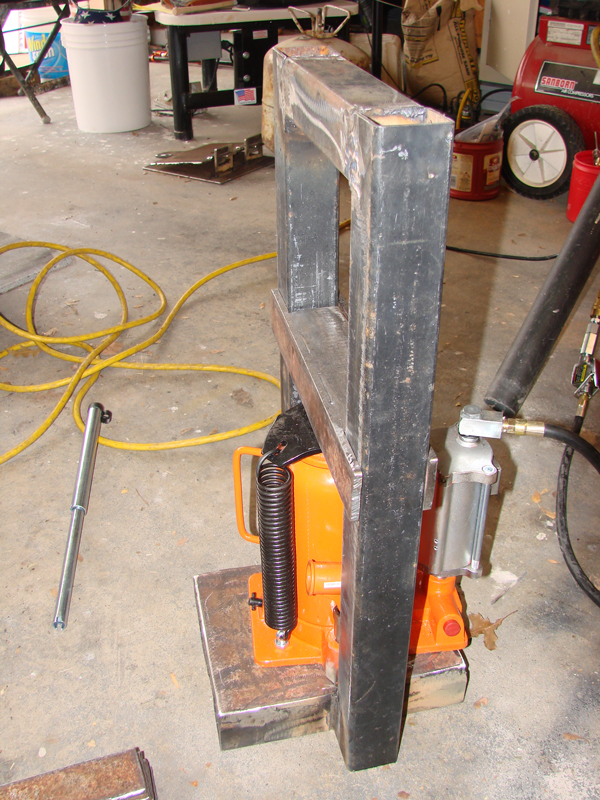
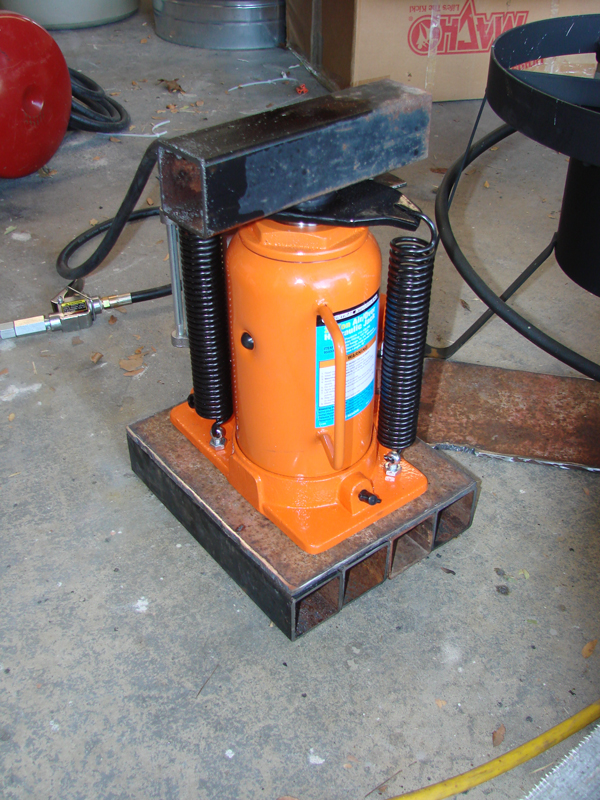 20 ton air operated hydraulic bottle jack about $70.00 at Harbor Freight on sale. |
 Base and uprights are made from 2" square tubing. Base reinforced with 1/4" steel. |
 Ram bar is made from a two inch stack of 1/4" flat bar. |
 Ram bar with guides installed. The 1/4" bolts shown broke on first press - replaced with 1/2" bolts. |
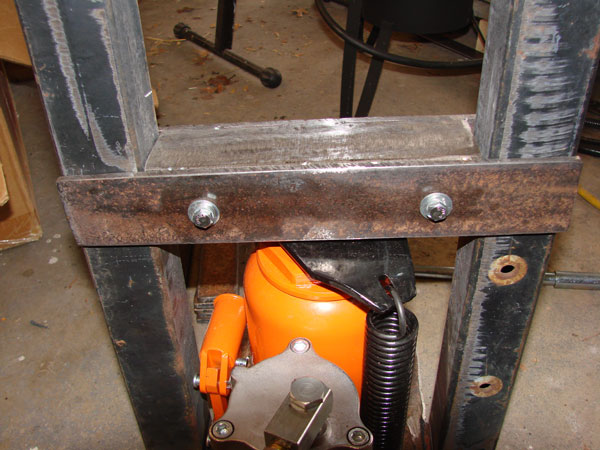
 Press with ram assembled. Ram should be positioned in center of bar. |
 Press side view - keep everything very square! |
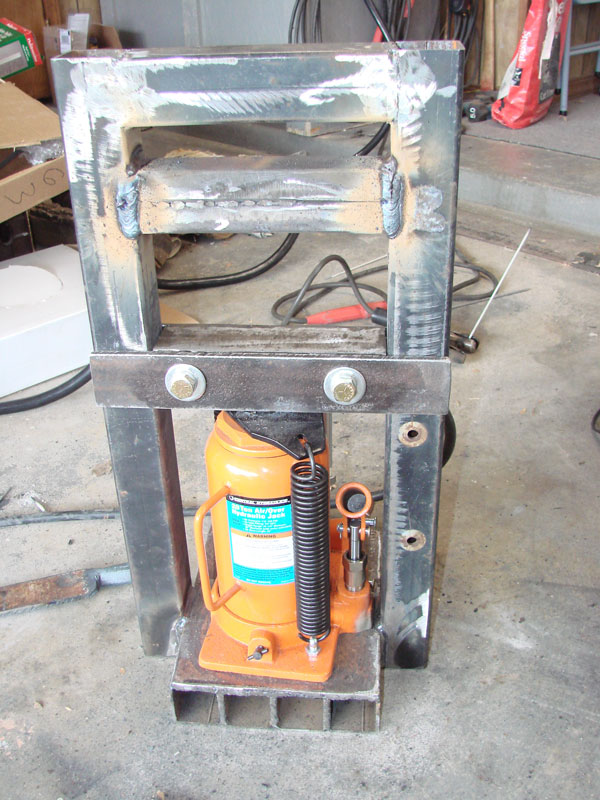 With the 1/2" bolts and top brace installed. Bolts allow the side plate to be removable so you can change the ram bar if needed. |
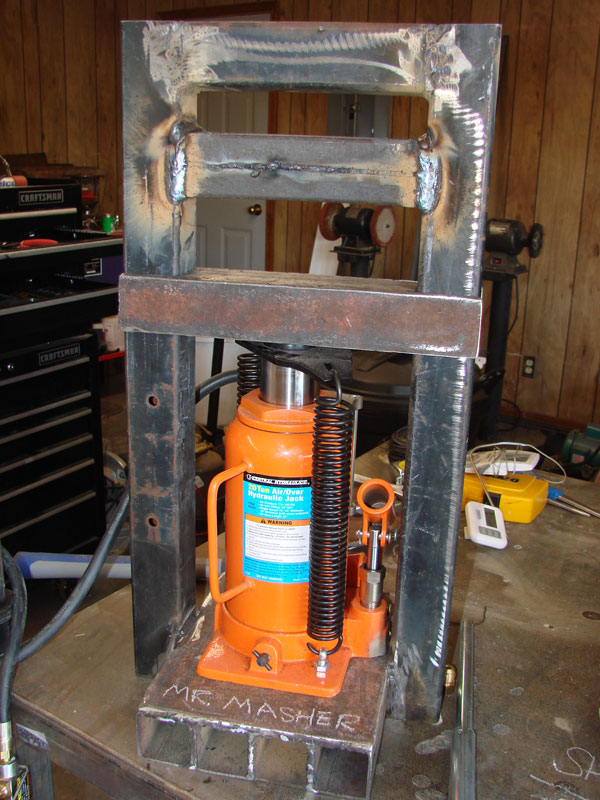 Ram Bar should move freely without binding on guides. |
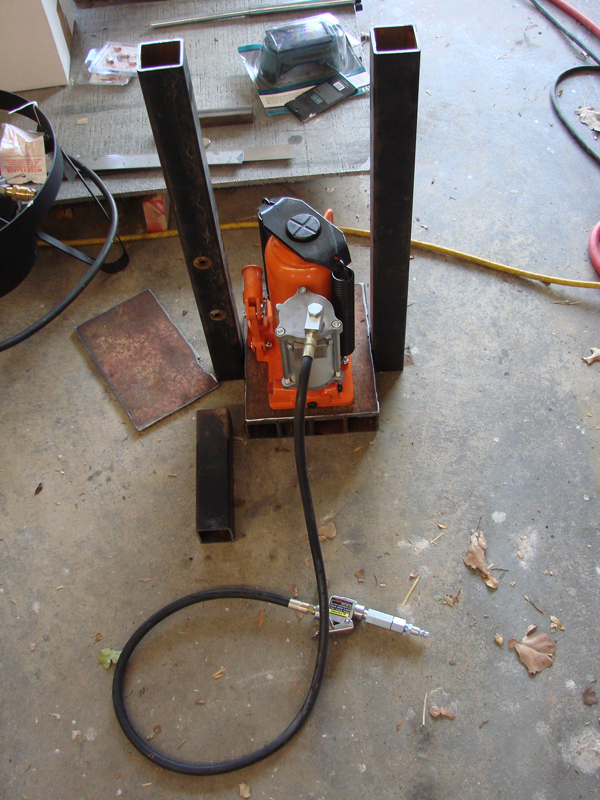
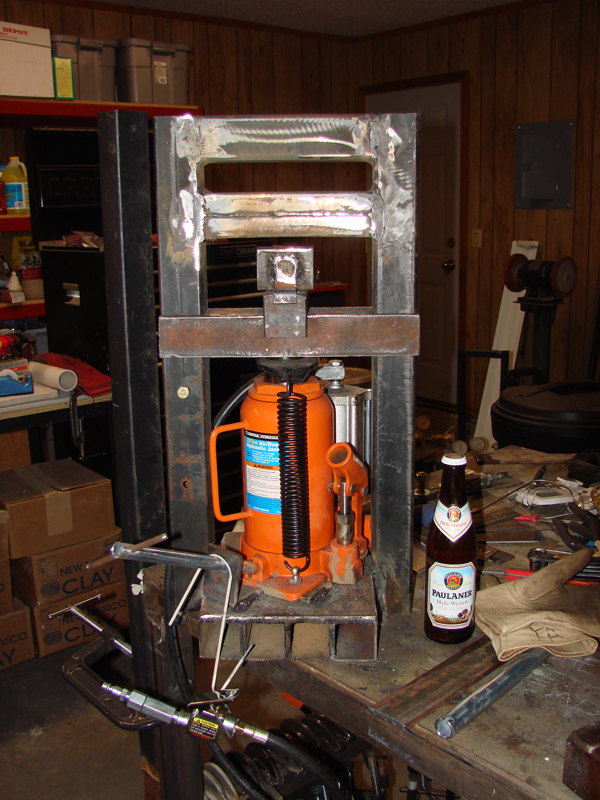 Modification with "T" handle release. Beer for size reference :) Notice the angle iron holding the handle in place. |
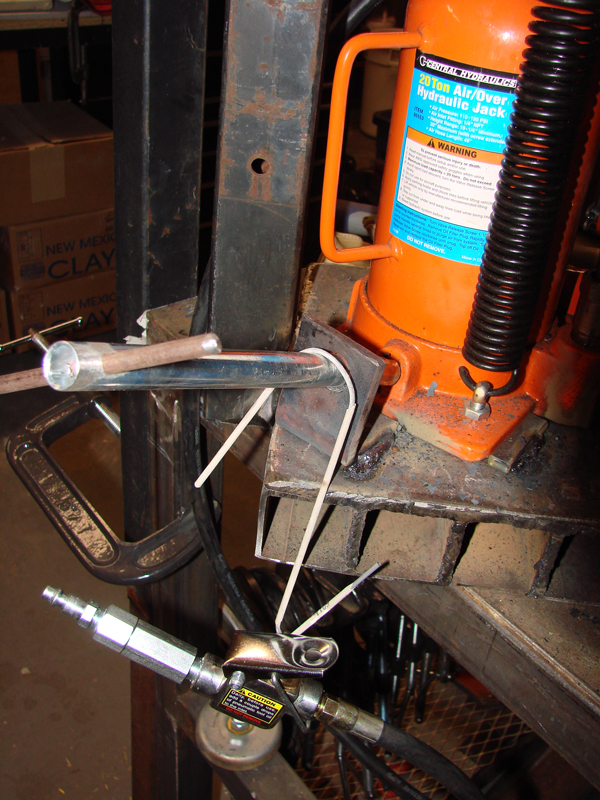 Close up of "T" handle and air switch. "T" handle makes this puppy work with one hand -essential! Note little flat bars at base of jack to keep it from sliding around. |
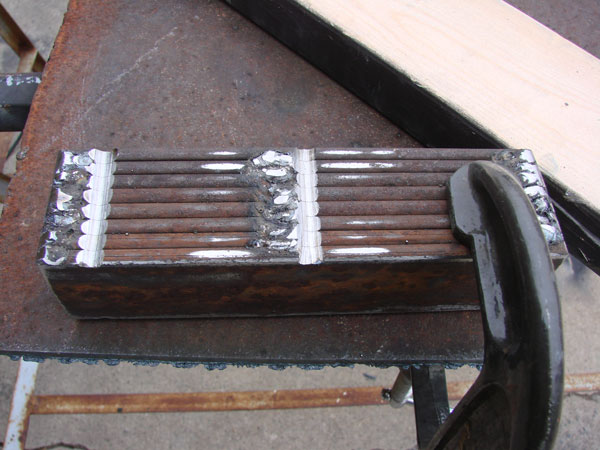
 Die set for drawing - these need to be more secure. They stick to billets with flux. |
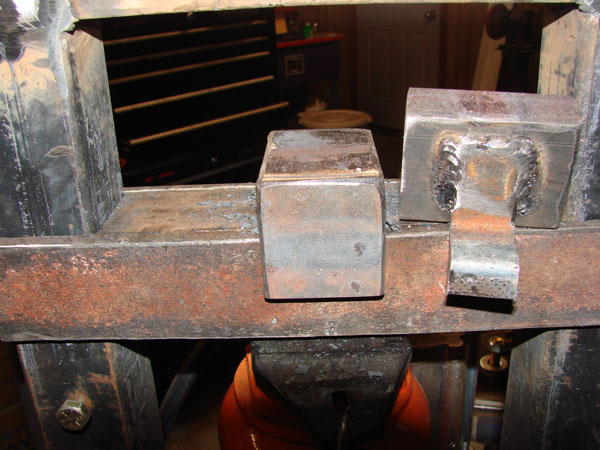 Drawing die set removed again - needs to be more secure! |
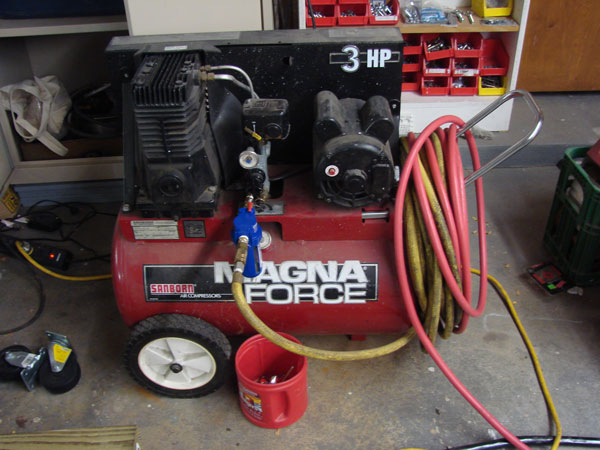 The compressor I am using is nothing special - 3 hp 120 psi max. |
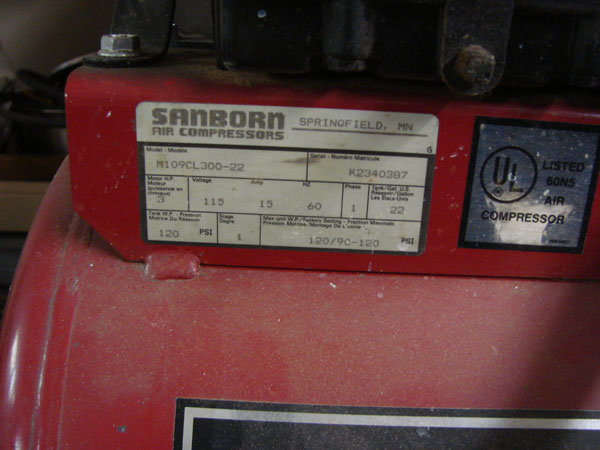 Here is the spec plate on the compressor |
This little do it yourself, homemade 20 ton press is about 2' tall and about 1' wide and about 10" deep -give or take a few inches. It cost about $100.00 to make. The air operated bottle jack was on sale for about $70.00 at Harbor Freight, and I already had most of the steel laying around the shop. I did have to buy 2' of 1" X 2" flat bar for the top brace and die sets.
A couple of design thoughts - 1. Everything needs to be very square: do not get a billet between two die sets that are not secure and parallel. 2. The die sets pictured need to be redesigned. They are not secure enough. They need some secure holding system or bolt system so they do not pop out under pressure or stick to fluxed billets. 3. The jack ram needs to be precisely centered on the ram bar, so that it pushes straight and doesn't angle the bar as it moves up. If it binds on a test press - stop and correct the problem. 4. Check all of your welds and bolts with a hard test press before you get a hot bar between them and find they don't hold. 5. The jack needs to be secured to the base so it doesn't move out of position when using the "T" handle. 6. Be sure to keep your face, arms, hands, eyes, etc protected and away from things that might burn or mash them.
When I first made this little masher it was impossible to use. It took forever for the ram to get to the top, I had to use both hands to pick up and then twist the ram release and then turn it again to lock the ram, then I had to drop all of the parts used to release the ram and reach down almost to the floor to pick up and manipulate the air switch. I could barely get one mash before my billet cooled down.
I was quite frustrated with the whole mechanism, and was just about to relegate the whole deal to my bin of projects that didn't work. So - I put the whole project away for a few days to think things out. I broke the movements down to simple parts - how to make the lock and release go faster and one handed - I came up with the angle iron drilled with a 1/2" hole to hold the handle and a 1/4" hole in the top of the handle to make a "T" bar. I also bent a welding rod to hold the air switch within easy reach. The process is now much simpler, and I can get about 5 squeezes with the ram from one heat. I also made some die sets to better facilitate drawing.
I have a foot switch planned to operate the air to help speed the process up even more. All said I am pretty pleased with this project.